Build an Nylas Mail plugin
Extend your mail client in five minutes
Plugins lie at the heart of N1. The thread list, message composer and other core parts are just packages bundled with the app. You can create your own packages in a matter of minutes!
1. Install Nylas Mail
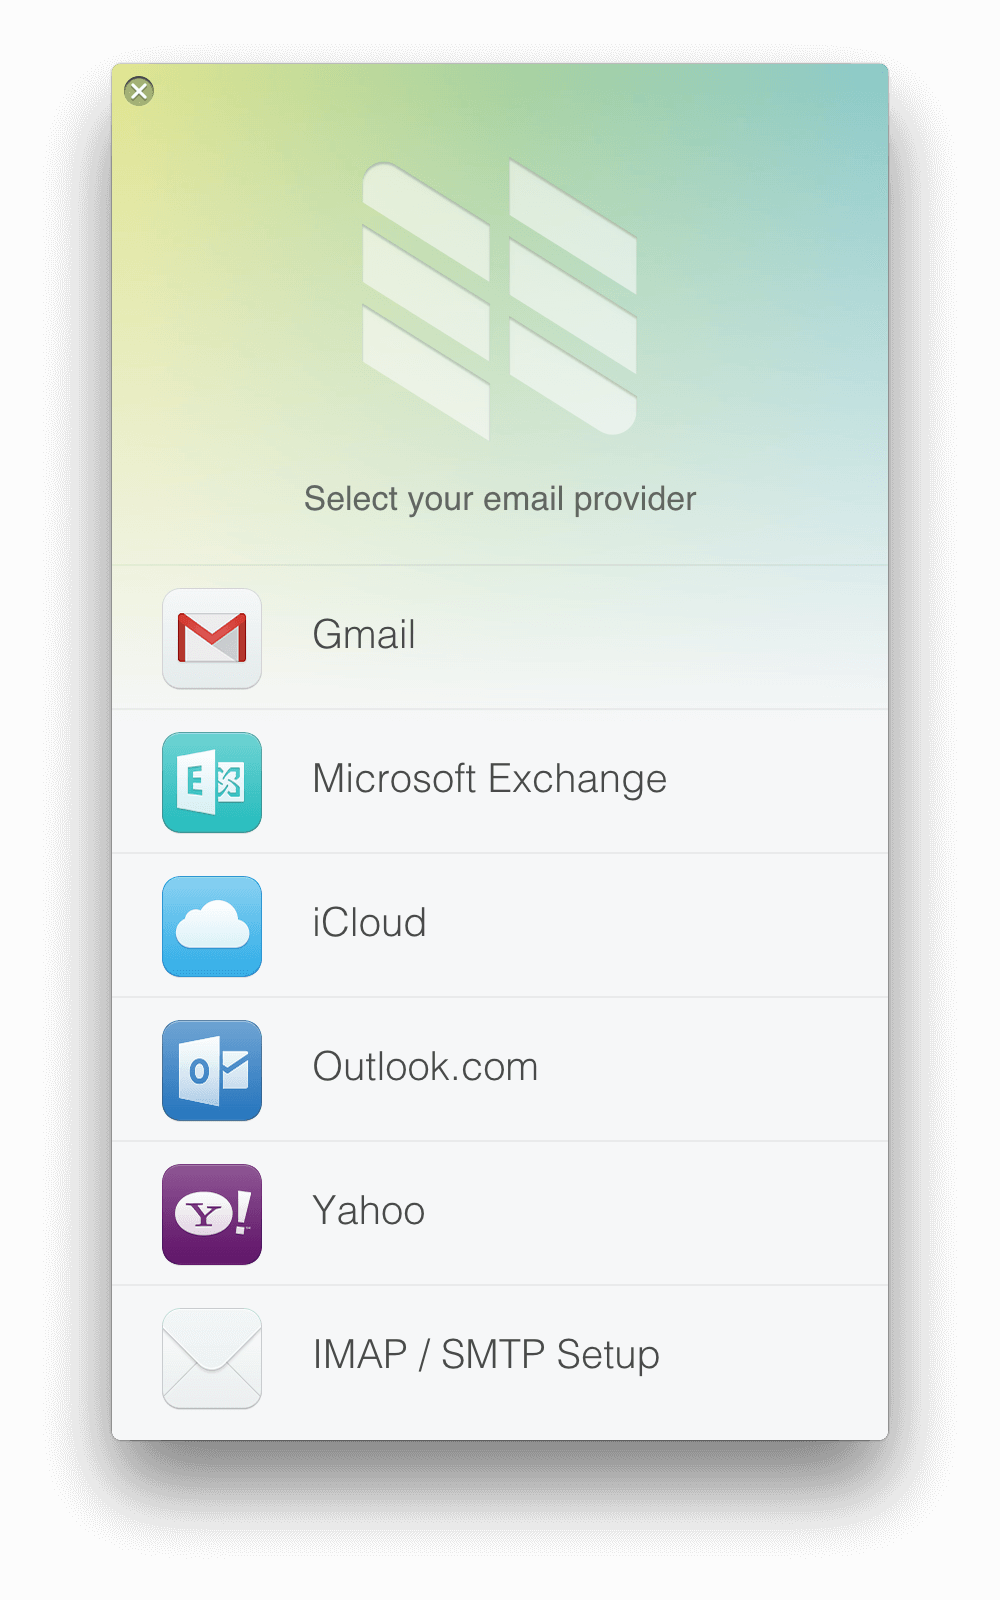
Download and install Nylas for Mac OS X (or Linux). Open it and sign in to your email account.
2. Create a plugin
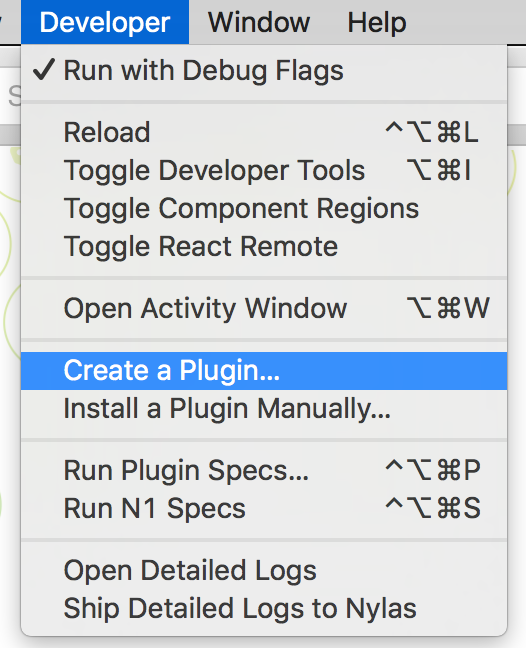
First, switch over to Developer Mode. Go to the Developer menu and select Run with debug flags.... Developer Mode turns on better exception logging and enables hot-reloading.
Next, choose Create a Plugin... from the Developer menu, and name your new plugin. This creates a directory in ~/.nylas/dev/packages containing your new plugin.
3. Start hacking!
Open the file <your-package-name>/lib/my-message-sidebar.cjsx in your favorite text editor. Your new plugin is pre-filled with a simple example component for the message sidebar (on the right when you're viewing an email). It only shows the name of the selected contact, but with a few quick changes we can build something more interesting.
Scroll down to line 34, the render method. Replace the code here to change what shows up in the sidebar. See your changes happen live when you save!
/lib/my-message-sidebar.cjs
componentWillUnmount: =>
  @unsubscribe()

  render: =>
      if @state.contact
          content = @_renderContent()
      else
          content = @_renderPlaceholder()

       <div className="my-message-sidebar">
          {content}
      </div>

  _renderContent: =>

Try opening a message in N1 - you'll see the new package's example text show up on the sidebar. Delete the content of the render method and save - the text should disappear.
Now let's add something - a bar that changes color based on the active contact in the sidebar. Replace the existing render method with the code to the right, then save the file.
/lib/my-message-sidebar.cjsx
  render: =>
       <div className="email-color" style={@_getStyles()}></div>

  _getStyles: =>
       domain = @state.contact.email.split("@")[1]
       hue = (domain.split('').reduce(((sum, char) -> sum + char. charCodeAt(0)), 0) % 36)*10
       color = "hsl(#{hue}, 62%, 57%)"
       return {background: color, height: 2, 'margin-top': 5}
Go back to N1, and try opening a message. You should see a horizontal bar that changes color based on the domain of the contact's email address.
That's it!
Extending the N1 mail client is really that simple. Try making more code changes and seeing how they affect the message sidebar. When you're ready, follow one of the links below to learn more.
Keep building!
Build even more functionality into the message sidebar in our extended tutorial that picks up where this one left off.